
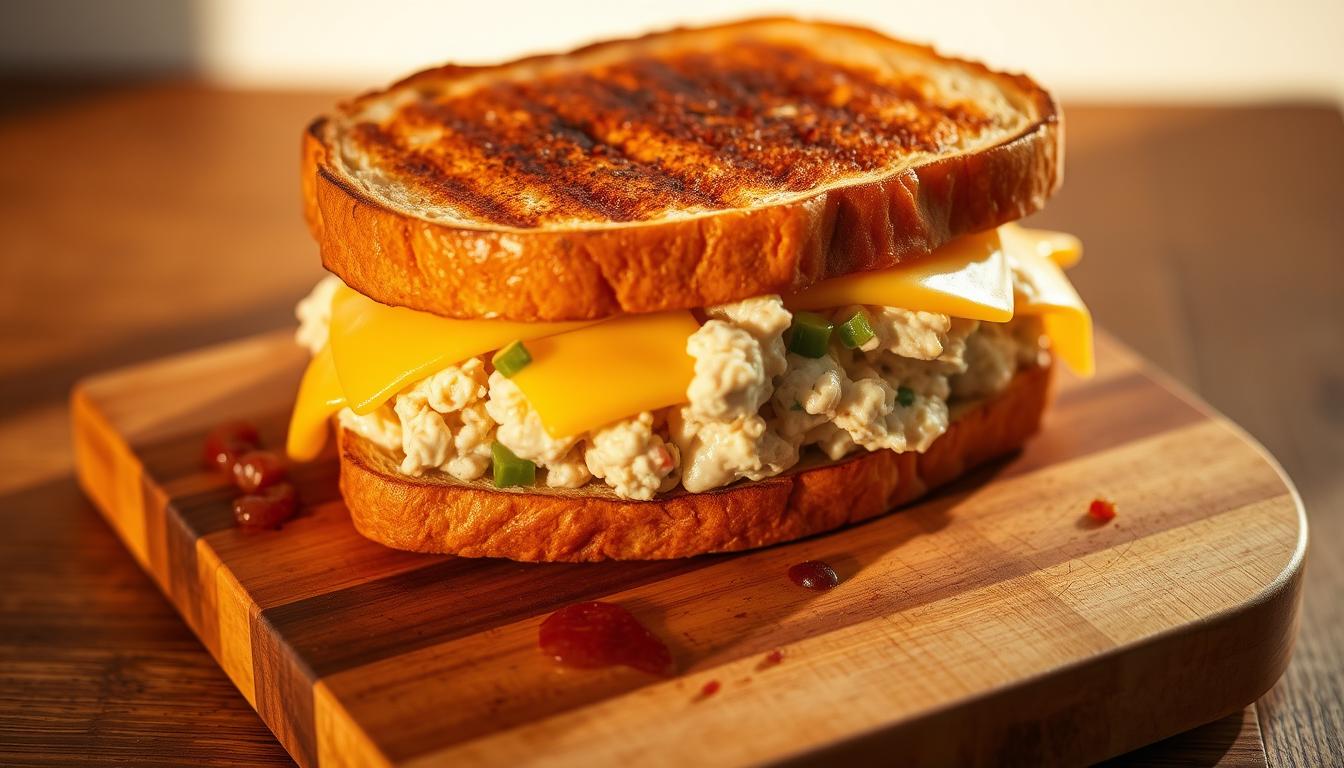
Who doesn’t love a good comfort food? Many of us have a special place in our hearts for classic comfort food. The Tuna Melt Sandwich is a favorite, known for its simplicity and taste.
Making this beloved dish takes just 10 minutes. Imagine biting into a toasted sandwich with tuna and melted cheese. It’s a treat that’s easy to make and hard to resist.
Key Takeaways
- Quick and easy recipe for a Tuna Melt Sandwich
- Ready in just 10 minutes
- A classic comfort food that’s simple to make
- Perfect blend of tuna, cheese, and toasted bread
- Great for a quick lunch or dinner
The Classic Appeal of Tuna Melt Sandwiches
The Tuna Melt is a true comfort food. It’s a quick and tasty meal with deep flavors. It’s loved by many for generations.
Origins of This Beloved Comfort Food
The Tuna Melt Sandwich started in American cuisine. It was a simple yet satisfying meal. Canned tuna, melted cheese, and toasted bread made it a hit.
Over time, different places added their own twist. This made the sandwich even more popular.
Why Tuna Melts Remain a Favorite Quick Meal
Tuna Melts are loved for their ease and taste. They offer a delicious sandwich that’s hard to resist. They’re perfect for a quick lunch or dinner.
Essential Ingredients for the Perfect Tuna Melt Sandwich
To make a delicious Tuna Melt Sandwich, pick the best ingredients. The quality of your tuna melt depends on the freshness and type of ingredients you use.
Selecting the Right Tuna
The type of tuna you choose affects the flavor and nutritional value of your Tuna Melt. Canned tuna is a popular choice because it’s convenient and lasts a long time.
Canned Options: Oil-Packed vs. Water-Packed
Oil-packed tuna tastes richer, while water-packed tuna has fewer calories. For a healthier choice, use no-salt-added tuna packed in water.
Fresh Tuna Alternatives
If you like fresh tuna, sushi-grade tuna steaks or sashimi are good options. But, you’ll need to cook the tuna before making the salad.
Cheese Options That Melt Beautifully
The right cheese can make your Tuna Melt better. Cheddar, Swiss, and provolone are popular choices. For a fancy touch, try Gruyère or Gouda.
Bread Choices for the Best Results
The bread you choose is crucial for your Tuna Melt. Choose a bread that can handle melted cheese, like sourdough or whole grain. Canyon Bakehouse Heritage-Style Bread is a great pick.
Must-Have Condiments and Seasonings
To enhance your Tuna Melt, use mayonnaise, Dijon mustard, and various seasonings. Add freshly ground black pepper and a squeeze of lemon juice for extra flavor.
| Ingredient | Recommended Options | Benefits |
|---|---|---|
| Tuna | No-salt-added canned tuna in water, Wild Planet Wild Albacore Tuna | Lower sodium, high protein |
| Cheese | Cheddar, Swiss, Gruyère | Melts well, rich flavor |
| Bread | Sourdough, Canyon Bakehouse Heritage-Style Bread | Hearty, holds up to cheese |
| Condiments | Mayonnaise, Dijon mustard, lemon juice | Adds flavor, moisture |
Kitchen Tools You’ll Need for Quick Preparation
Having the right kitchen tools is key to making a quick and easy homemade tuna melt. With the right tools, you can whip up a tasty tuna melt sandwich fast.
Basic Equipment for Mixing and Assembly
You’ll need some basic tools to mix and assemble your tuna melt. A medium-sized bowl is perfect for mixing the tuna salad. A spoon or spatula helps with mixing, and a plate or cutting board is great for putting the sandwich together.
Cooking Surface Options
There are several ways to cook your tuna melt. Your choice depends on what you like and what you have in your kitchen.
Skillets and Pans
Skillets or pans are a common choice for cooking tuna melts. You can use a non-stick skillet or a cast-iron pan for a golden-brown crust. A griddle or flat skillet is especially good because it heats evenly and can cook several sandwiches at once.
Specialty Equipment
If you have a panini press or a toaster oven, you can use them to cook your tuna melt. A panini press melts the cheese and crisps the bread evenly. A toaster oven cooks the sandwich quickly and evenly.
| Tool | Purpose |
|---|---|
| Medium-sized bowl | Mixing tuna salad ingredients |
| Spoon or spatula | Mixing and assembling the sandwich |
| Skillet or pan | Cooking the tuna melt |
| Panini press or toaster oven | Specialty cooking options |
Preparing Your Tuna Salad Mixture in 3 Minutes
Making the perfect tuna salad mixture is quick and easy, taking just 3 minutes. The secret to a great tuna melt sandwich is in its tuna salad. It’s all about finding the right balance of flavors and textures.
The Perfect Tuna-to-Mayo Ratio
The key to a good tuna salad is the tuna-to-mayo ratio. You need enough mayonnaise to hold everything together without being too wet. A good rule is to use 2 tablespoons of mayonnaise for every 5 ounces of tuna.
Essential Mix-ins for Enhanced Flavor
To enhance your tuna salad, add some mix-ins. Include aromatics like onions, celery, and herbs. Also, add texture with pickles and capers.
Aromatics: Onions, Celery, and Herbs
Chopped onions and celery add a nice crunch. Herbs like parsley or dill bring a fresh taste. For example, finely chopped fresh dill can refresh your tuna salad.
Texture Additions: Pickles, Capers, and More
Pickles and capers add a salty, tangy flavor. They complement the tuna well. Add chopped pickles or capers for extra texture and taste.
| Mix-in | Flavor Profile | Texture |
|---|---|---|
| Chopped Onions | Sweet, savory | Crunchy |
| Celery | Fresh, green | Crunchy |
| Pickles | Sour, salty | Crunchy |
| Capers | Savory, slightly bitter | Crunchy |
Seasoning Tips for Maximum Taste
Season your tuna salad with salt, pepper, and other seasonings you like. Some people add steak seasoning or lemon juice for extra flavor.

By following these tips, you can make a delicious tuna salad mixture in just 3 minutes. This will be the base for your best tuna melt sandwich recipe. It’s an easy lunch recipe that’s sure to please.
Assembling Your Tuna Melt Sandwich
Now that you have your tuna salad ready, it’s time to put your Tuna Melt Sandwich together. This step is key to getting the right mix of flavors and textures.
Layering Techniques for Even Melting
To get even melting, layer your ingredients right. Start with a slice of bread, then tuna salad, and finish with cheese.
- Spread the tuna salad evenly to avoid thick clumps.
- Use a cheese that melts well, such as cheddar or American.
Open-Face vs. Closed Sandwich Options
You can make your Tuna Melt Sandwich open-face or closed. An open-face one gets crisper on top. A closed one keeps flavors inside.
Butter Application Methods
To add flavor and crispiness, butter the bread slices before making the sandwich. You can also use a butter substitute if you prefer.
By using these assembly tips, you’ll make a tasty Tuna Melt Sandwich that will hit the spot.
Cooking Methods for the Best Tuna Melt Sandwich
To make your Tuna Melt better, try different cooking ways. Each method can change this classic dish into a soft, tasty treat. The right way to cook can make a big difference.
Stovetop Skillet Method
Cooking your Tuna Melt in a skillet is a favorite choice. It gives a crispy outside and a cheesy inside. To get it right, focus on keeping the heat steady and flipping it well.
Temperature Control Tips
Keeping the right temperature is key. Use medium heat to avoid burning the bread before the cheese melts. A cast-iron skillet helps with even heat.
Flipping Techniques
When flipping, do it gently to keep the filling inside. Use a spatula to turn the sandwich over. Cook the other side until it’s golden brown like the first.
Oven Broiling Technique
Broiling your Tuna Melt in the oven is great for melting cheese evenly. Put your sandwich on a baking sheet. Broil until the top is golden and bubbly.

Toaster Oven Shortcut
For a quick option, try the toaster oven. It’s perfect for one serving and saves time. Just put your sandwich in the oven and cook until the cheese melts and the bread toasts.
Air Fryer Innovation
The air fryer is a new way to cook Tuna Melts. It gives a crispy outside with little oil. Cook your sandwich in the air fryer basket at the right temperature until crispy and golden.
| Cooking Method | Advantages | Disadvantages |
|---|---|---|
| Stovetop Skillet | Crispy exterior, gooey interior | Requires flipping, risk of burning |
| Oven Broiling | Uniformly melted cheese, easy to cook multiple sandwiches | Requires oven preheating, potential for overcooking |
| Toaster Oven | Quick, energy-efficient, perfect for single servings | Limited capacity, may not be as crispy as stovetop |
| Air Fryer | Crispy exterior with minimal oil, easy to use | Limited capacity, may require trial and error for perfect cooking |
The 10-Minute Tuna Melt: Step-by-Step Guide
Craving a quick and tasty meal? A tuna melt sandwich is ready in 10 minutes. This guide will show you how to make a delicious tuna melt. From mixing the tuna salad to cooking the sandwich to golden perfection.
Minutes 1-3: Mixing the Perfect Tuna Salad
Start by mixing your tuna melt ingredients. In a bowl, combine canned tuna, mayonnaise, and your choice of mix-ins. This could be diced onions or chopped hard-boiled eggs. The goal is to get the tuna and mayonnaise just right, not too dry or too soggy. Use fresh and high-quality ingredients for the best flavor.
Minutes 4-5: Sandwich Assembly
Once your tuna salad is ready, it’s time to assemble your sandwich. Place a generous amount of the tuna mixture onto one slice of bread. Add cheese on top for an extra burst of flavor. You can choose between different types of cheese and bread to suit your taste.
Minutes 6-10: Cooking to Golden Perfection
Cooking your tuna melt sandwich is the final step. You can use various methods such as stovetop, oven broiling, or toaster oven. The goal is to melt the cheese and toast the bread to a golden brown.
Visual Cues for Doneness
Keep an eye on your sandwich as it cooks. Look for a golden-brown crust on the bread and melted, bubbly cheese. These signs mean your tuna melt is ready to be enjoyed.
Timing Adjustments for Different Methods
Depending on your chosen cooking method, you may need to adjust the cooking time. For instance, a stovetop method might require more attention and potentially less time than oven broiling. Be prepared to make these adjustments to achieve the perfect tuna melt.
By following these steps, you’ll have a delicious, quick, and tasty meal ready in just 10 minutes. Enjoy your perfectly cooked tuna melt sandwich!
Healthy Modifications to the Traditional Tuna Melt Recipe
Making a few simple tweaks to the traditional tuna melt recipe can significantly improve its nutritional value. By incorporating healthier ingredients and alternatives, you can enjoy a guilt-free version of this beloved comfort food.
Lower-Calorie Ingredient Swaps
One of the easiest ways to make your tuna melt healthier is by swapping out high-calorie ingredients for lower-calorie alternatives. For instance, you can replace mayonnaise with Greek yogurt to reduce saturated fat content. Greek yogurt not only cuts down on calories but also adds a tangy flavor to your tuna salad.
Adding Nutritious Elements
Enhance the nutritional profile of your tuna melt by adding some wholesome ingredients. Incorporating chopped vegetables like onions, celery, or bell peppers into your tuna salad can boost its fiber and vitamin content. You can also add some chopped fresh herbs like parsley or dill for extra flavor and antioxidants.
Gluten-Free and Dairy-Free Alternatives
For those with dietary restrictions, there are several gluten-free and dairy-free alternatives you can use.
Bread Substitutions
Consider using gluten-free bread or alternatives like cauliflower bread or portobello mushroom caps as a low-carb option.
Non-Dairy Cheese Options
If you’re lactose intolerant or prefer a dairy-free diet, you can opt for non-dairy cheese alternatives made from nuts, soy, or coconut oil. These options can melt beautifully and provide a similar taste to traditional cheese.

Gourmet Tuna Melt Variations to Try
Explore the world of gourmet Tuna Melts, where classic comfort meets new flavors. You can make your easy lunch recipe more exciting by adding international ingredients and creative twists. This results in a delicious sandwich that will wow everyone.
Mediterranean-Inspired Tuna Melt
Take a trip to the Mediterranean with this version. Add chopped Kalamata olives, artichoke hearts, and sun-dried tomatoes to your tuna salad. Top it with crumbled feta cheese for a real Mediterranean touch.
- Kalamata olives
- Artichoke hearts
- Sun-dried tomatoes
- Feta cheese
Spicy Southwest Version
Give your Tuna Melt a Southwestern kick. Mix diced jalapeños into your tuna salad and top with pepper jack cheese. Add sliced avocado for extra creaminess.
- Diced jalapeños
- Pepper jack cheese
- Sliced avocado
Avocado and Bacon Luxury Melt
Enjoy the rich flavors of avocado and bacon. Add crispy bacon bits to your tuna salad and layer sliced avocado on top. The creaminess of avocado pairs perfectly with the crispy bacon.
- Crispy bacon bits
- Sliced avocado
Italian-Style Tuna Melt
Bring Italy to your plate with this version. Mix chopped fresh basil into your tuna salad and top with melted mozzarella cheese. Drizzle with balsamic glaze for extra depth.
- Chopped fresh basil
- Mozzarella cheese
- Balsamic glaze
These gourmet Tuna Melt variations offer a tasty twist on the classic. They make for an easy lunch recipe that’s both satisfying and exciting.
Common Mistakes to Avoid When Making Tuna Melt Sandwiches
To make a perfect Tuna Melt Sandwich, you need to avoid some common mistakes. It’s not just about putting tuna and cheese between bread. You need to be careful with the details.
Preventing Soggy Sandwiches
Sogginess is a big problem with Tuna Melt Sandwiches. To fix this, don’t put too much tuna salad on. Also, toast the bread lightly before adding the filling. This helps keep the sandwich dry.
Cheese Selection and Melting Issues
The right cheese is key for a great Tuna Melt. Choose cheeses like cheddar or provolone that melt well. Make sure the cheese covers the tuna salad evenly to avoid dry spots.
Temperature Control Problems
Cooking at the right temperature is important. If it’s too hot, the bread will burn before the cheese melts. If it’s too cold, the cheese won’t melt. Find a middle ground. Also, buttering both sides of the bread helps with the crust, as experts say.
Overcrowding Your Sandwich
It’s tempting to add a lot of filling, but too much can make the sandwich messy. Keep your tuna salad balanced with the size of your bread.
By avoiding these mistakes, you’ll make a tasty Tuna Melt Sandwich. Here are some important tips:
- Don’t overload your sandwich with tuna salad.
- Choose a cheese that melts well.
- Control your cooking temperature.
- Avoid overcrowding the sandwich.
Pairing Suggestions: What to Serve with Your Tuna Melt
Once you’ve made a quick and tasty tuna melt, you might wonder what to serve with it. A complete meal can make your dining experience better. It’s perfect for a cozy lunch or a fulfilling dinner.
Classic Side Dishes
Classic sides go well with tuna melts. Try a side salad, crunchy celery and carrots, or crispy potato chips. These add texture and freshness to your meal.
Soup Combinations
Pairing your tuna melt with a warm bowl of soup is satisfying. Creamy soups like tomato soup or vegetable broth-based soups are great choices.
Beverage Pairings
Choosing the right drink can make your meal better. Let’s look at some hot and cold options.
Hot Drinks
For a cozy feel, pair your tuna melt with hot tea or coffee. These drinks match the savory flavors of the sandwich.
Cold Refreshments
If you like something cold, try iced tea, lemonade, or a glass of water with lemon. These can refresh your palate between bites.
Why Your Homemade Tuna Melt Will Beat Any Restaurant Version
A homemade Tuna Melt Sandwich is a top pick for the best sandwich recipe. It’s a classic comfort food that beats any restaurant version. By making it yourself, you control the ingredients and techniques, making it just right for you.
With fresh tuna, melted cheese, and your choice of bread, you can make a Tuna Melt that’s both satisfying and delicious. The secret is in the details, like getting the tuna-to-mayo ratio just right and picking the perfect cheese for a smooth melt. Follow the steps in this article to make a Tuna Melt Sandwich that’s perfect for you.
With the freedom to try different ingredients and cooking methods, you can take this classic comfort food to new levels. Whether you want a Mediterranean-inspired Tuna Melt or a spicy Southwest version, the options are endless. So, next time you crave a Tuna Melt, make it at home for a truly unforgettable experience.