
The soft bubbling sound of a vibrant sourdough starter is like my kitchen’s heartbeat. But when your sourdough starter is not rising, it can feel frustrating—just a flat mix of flour and water with no signs of life.
Troubleshooting a stalled starter may seem challenging, but with the right steps, you can bring it back. A sluggish rise doesn’t mean the end of your baking journey—it’s an opportunity to refine your fermentation skills.
This guide will walk you through five simple steps to revive your starter, transforming it from lifeless to lively and bubbly. Get ready to bake delicious artisan bread again.
Key Takeaways
- Identify the root cause of your stalled starter
- Learn the signs of a healthy versus inactive starter
- Understand temperature’s critical role in fermentation
- Master simple revival techniques
- Develop consistent feeding habits for long-term starter health
Understanding Why Your Sourdough Starter Not Rising
Dealing with a sourdough starter that won’t rise can be tough for home bakers. Its success depends on several key factors. These factors affect its ability to ferment and rise.
Common Causes of Inactive Starter
Several issues might cause your sourdough starter to not proof. Knowing these problems can help you fix your starter’s health and activity.
- Inconsistent feeding schedule
- Incorrect flour-to-water ratio
- Poor environmental conditions
- Weak or dead wild yeast cultures
Signs of a Healthy vs. Unhealthy Starter
It’s important to know the difference between a healthy and underproofed starter. This knowledge is key for successful sourdough baking.
| Healthy Starter | Unhealthy Starter |
|---|---|
| Doubles in size within 4-8 hours | No visible rise after feeding |
| Pleasant, slightly tangy smell | Rancid or overly sour odor |
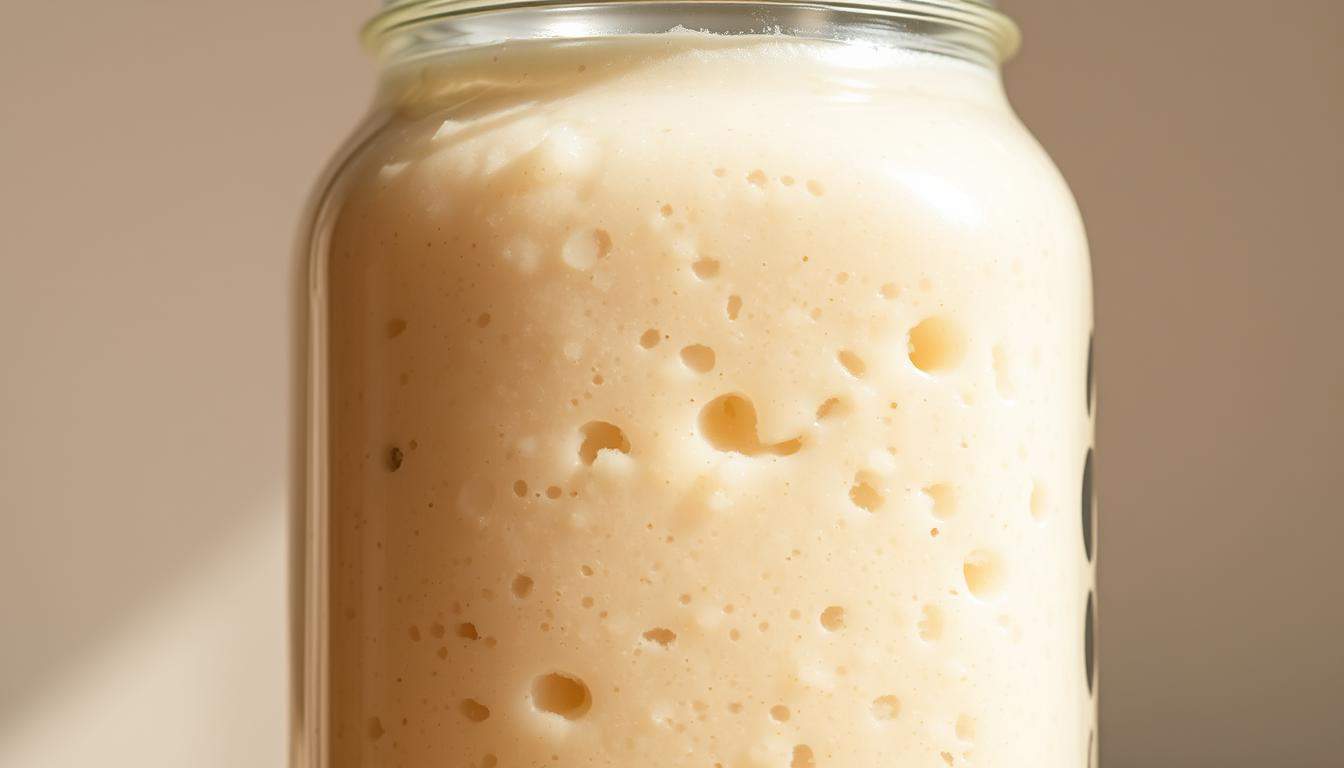
| Bubbles throughout the mixture | Flat, without any bubbling |
Temperature and Environmental Factors
The temperature is crucial for your sourdough starter’s fermentation. Ideal temperatures range between 70-80°F (21-27°C). Cold can slow down or stop your starter’s activity.
“The key to a successful sourdough starter is consistent temperature and regular care.” – Professional Baker’s Wisdom
If your starter is underproofed, check its environment. Drafty kitchens, cold countertops, and changing room temperatures can affect your starter’s performance.
Essential Tools and Ingredients for Starter Revival
Reviving a sourdough starter needs precision and the right tools. Success comes from choosing top-notch ingredients and having the right gear. King Arthur Flour is a top pick for bakers aiming for the best results.
- Clean glass or ceramic jar with lid
- Digital kitchen scale
- Wooden or silicone spatula
- Thermometer
- Filtered or spring water
For flour, Puratos bakery ingredients are a great choice. The right flour can greatly improve your starter’s health. Whole wheat or rye flour adds extra nutrients, helping your starter wake up faster.
“The quality of your ingredients determines the success of your sourdough starter.” – Professional Baker’s Wisdom
Your ingredient list should include:
- King Arthur Flour (bread or all-purpose)
- Puratos organic whole wheat flour
- Filtered water
- Optional: Rye flour for boost
Temperature and consistency are key in starter revival. Keep the environment warm, between 70-80°F, for best fermentation. Your tools and ingredients together create the ideal space for yeast and bacteria to grow.
The Science Behind Sourdough Starter Fermentation

Sourdough starter fermentation is a fascinating process. It turns simple ingredients into a living, breathing ecosystem. Knowing how it works can make you a better baker.
Wild Yeast and Bacteria Balance
The magic of sourdough comes from its partnership of wild yeast and lactic acid bacteria. These tiny friends work together to make sourdough bread special. The yeast makes the dough rise, and the bacteria add a tangy taste.
- Wild yeast produces carbon dioxide for leavening
- Lactic acid bacteria create complex flavor profiles
- Balanced microbiome ensures optimal fermentation
Optimal Hydration Levels
The water in your sourdough starter is key to fermentation. It affects how active the starter is. A stiff starter has less water, which means more intense fermentation.
| Hydration Level | Consistency | Fermentation Characteristics |
|---|---|---|
| Low (50-60%) | Thick, stiff sourdough | Slower fermentation, more intense flavor |
| Medium (75-80%) | Soft, spreadable | Balanced fermentation and activity |
| High (100%+) | Liquid, runny | Faster fermentation, milder taste |
Role of Temperature in Fermentation
Temperature is very important for your sourdough starter. Warmer temperatures speed up fermentation, while cooler ones slow it down. Keeping the temperature steady helps fermentation happen predictably.
“The art of sourdough is understanding the delicate balance of life within your starter.” – Artisan Baker
By learning these scientific basics, you can make a lively sourdough starter. This starter will help you bake bread with amazing flavors and texture.
Step-by-Step Guide to Reviving Your Starter

Reviving a sourdough starter not rising can seem tough, but it’s doable with the right steps. Whether it’s dehydrated or just needs some love, patience and care are essential
- Assessment: Check your starter’s state. Look for mold, unusual colors, or bad smells that mean it’s gone bad.
- Initial Cleaning: Toss most of the starter, keeping just a bit to start over.
- Feeding Routine: Start a regular feeding routine with flour and water. If it’s dehydrated, warm water is the first step.
- Temperature Control: Keep your starter warm (70-80°F) to help it ferment.
- Daily Monitoring: Look for bubbles, growth, and a tangy smell. These signs mean your starter is coming back.
“Patience is the secret ingredient in starter revival” – Sourdough Enthusiasts
For the best results, use room temperature water and quality flour. It might take 3-7 days to revive your starter, so be patient.
Every starter is different. You might need to tweak your revival steps based on your starter and environment.
Maintaining Your Revived Starter for Optimal Performance
Keeping your sourdough starter healthy needs regular care. After you revive it, a good feeding schedule and storage are key for success.
Consistent Feeding Schedule
Your starter’s feeding schedule depends on how often you bake. If you bake a lot, feed it every day at room temperature. If you bake less, store it in the fridge and feed it once a week.
- Daily feeding: Keep at room temperature
- Weekly feeding: Store in refrigerator
- Consistent hydration ratio: 1:1:1 (starter:flour:water)
Smart Storage Solutions
Good storage keeps your starter active. Use containers that let it breathe and control the temperature well.
| Storage Method | Temperature | Feeding Frequency |
|---|---|---|
| Room Temperature | 70-80°F | Daily |
| Refrigerator | 40-50°F | Weekly |
Troubleshooting Common Issues
Keep an eye on your starter’s health. A bubbly, slightly sour starter is a good sign. Stay consistent with your care to avoid problems.
“A well-maintained starter is the heart of great sourdough bread” – Professional Baker’s Wisdom
Pro tip: Always use clean utensils and fresh ingredients during your sourdough starter feeding schedule to ensure optimal starter health.
Conclusion
Reviving a sourdough starter is an art that needs patience, understanding, and care. By learning the techniques in this guide, you can make a dormant starter come alive. It’s all about paying attention to its unique needs.
Your sourdough journey is just starting. It’s a continuous learning process. Each time you feed and bake with your starter, you learn more about it. Enjoy the small wins and learn from the challenges.
Every baker’s situation is different. What works for one might not work for another. Trust your gut, watch your starter, and try new things. With time, you’ll know how to keep your starter healthy and active.
The best part of sourdough baking is the bond you form with your starter. It’s not just an ingredient; it’s a living part of your baking. It brings flavor, nutrition, and joy to your bread-making.